by Arturo Rivo Jr.
In this digital age, a lot of people love taking photos. You probably first took photos using your smartphone and after taking a shot, you previewed it and told yourself.. “wow, I’m good.” hehe
So, you decided that you want photography as your hobby but you’re not sure where and how to start. Some go to photography schools or contact a professional to train them. Some are lucky to have friends who taught them the basics and all.
I am not an expert but had a quite a number of experiences in this kind of hobby 🙂
Let me give you some tips and advises how you can start Photography… by yourself. 🙂
1.) First, try to discover what you really like.
As a newbie, I’m sure you like it ALL!! Believe me, I shot everything from cockroaches, to flowers.. and to even the tip of my toes. hehe. Photography is much fun after you discovered what you truly loves. This also makes you excel. Grab your smartphone and look at your photos. Review them and ask yourself.. “what do I love taking pictures?”
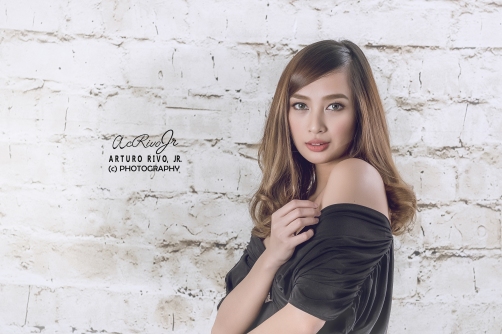
For me, I love portraits.
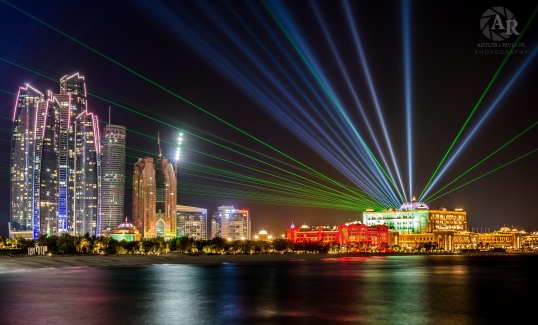
Example of landscape photography
2.) Second, invest in a good camera
This one is a hard part for beginning photographers. It’s fine if you want to take photos just using your smartphone but if you want to enjoy more, I advise you to buy a DSLR camera or a Mirrorless Camera. These cameras are cameras you could customize its settings and change lenses. There are sooo many to choose from. Digital cameras have different sizes, formats (crop, full frame, medium format) shapes, color but choose a camera you change change lenses and with manual controls.
Remember the first advise I told you? The answer to that will help you decide what lenses to buy as you learn photography. But for the meantime, your first camera would come with a kitlens of abot 18-55mm or 18-105 mm (differs from camera to camera). This lens is a versatile lens and a good lens to start with. I started with 18-55mm. Lenses are defined with labels like 18-55 mm, 50 mm, 11-16 mm, 70-200 mm to name a few. The lesser number of millimeters means the wider the picture you can get.
But your question is, “what is a good camera?” Well, every camera manufacturer will tell you that their camera is better. I advise you to search for camera user reviews in the internet. Then buy what your budget can buy. Also check out other features you may like or consider (tilting screen, WIFI connectivity, video, touch screen, etc). If borrowing is a possibility, I think that’s better for testing before buying it.
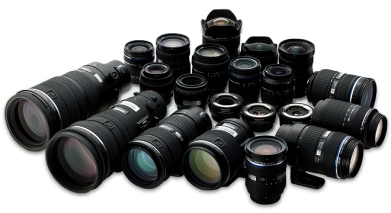
Examples of cameras out there (note: I am not endorsing or promoting any brand)
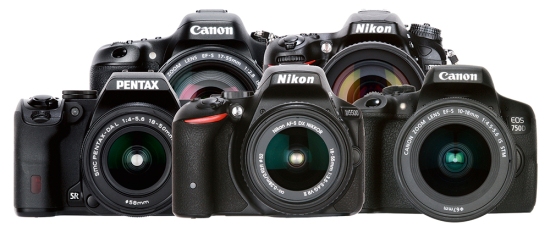
Some common DSLRs
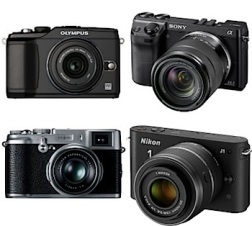
Mirorless cameras are smaller and more compact
3.) Third, read your camera’s manual and learn to adjust ISO, Aperture, Shutter speed and White Balance
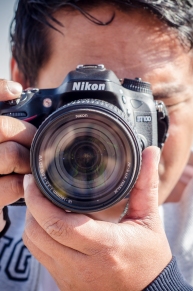
This is the hard part in learning by yourself. After reading the manual, you will know how to adjust them. All DSLR cameras (correct me if I’m wrong) come with “AUTO MODE” which lets the camera decide which settings to use. Most of the time it is OK but if you really want to learn photography, you should learn to change this settings MANUALLY to get the creative results you are expecting. After learning how to FOCUS you camera, learn how to adjust these 4 functions.
Now, you will discover that lighting is the MAIN consideration in making a photograph. Master the light. So, here’s the 4 functions that affects the behavior of light in your photos. I will try to describe them in layman’s term so you could understand. I will not discuss it very deeply. You have to learn how to use them on different kinds of situation.
ISO– adjust the light sensitivity. The higher number means more light will come but with more noise (dotted dark spots) in the image
Aperture– Controls how much opening your lens. Just imagine your lens as your eye. If you put less number of aperture (example 1.8), your eyes will be wide open and more light will come to this image. If you put more and more number (2.8 to 16), you eyes will squint and the image will be darker. You will also discover that less number aperture (1.4, 1.8) could easily make blurred backgrounds and greater number of apertures (5.6 to 16 for example) would eliminate blurs and make all the picture sharper. This is great for group pictures and landscapes.
Shutter speed– faster shutterspeed means you can capture moving pictures more sharply. You will discover that 1/2000 of a second will nicely capture a running man while using 1/125 of a sec will result a blurred photo. Slow shutter speed will capture more light. This is great for night photos but you need a tripod to prevent camera shakes that will result to blurred photos.
White Balance– This let’s you control how warm and how cold your picture will appear.
If you master this 4 settings, you can take properly expose your photos anytime.
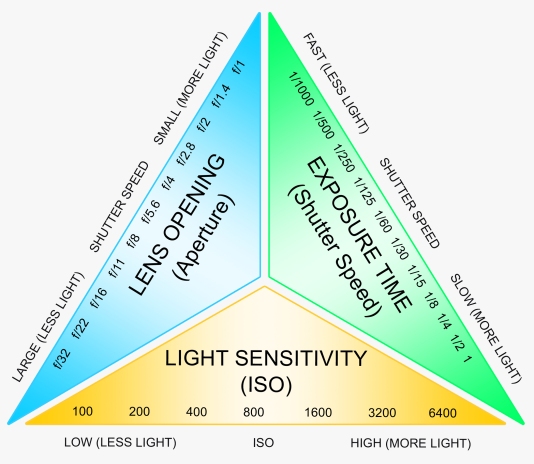
This is the exposure triangle. Use this if you are still confused about the effect of each function.
4.) Fourth, SHOOT a lot!!
Remember, photography is a skill. You have to hone this skill by experience. SHOOT A LOT!! Practice, Practice, Practice!! Don’t be down by critics. Not everyone will love your photos but what’s important is.. you LOVE them. If you want to be a professional, use the criticisms as your driving force to get better. There is a quote saying that your first 10,000 pictures is your worst. Don’t be discouraged. Don’t stop shooting.
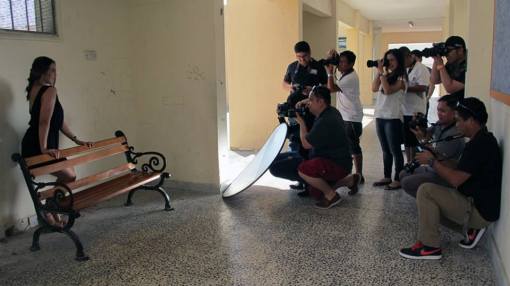
If you love portraits, join organized photoshoots. If there’s none you can find, just pull your friends and have them pose for you hehe
5.) Fifth, acquire knowledge and don’t stop learning
That’s it! If you’ve finished steps 1 to 5, you’re probably ok with the basics. The possibilities now are endless. But the great part is… information is everywhere!!! You have to be resourceful. You have no excuse. hehe You can buy videos and books about photography and if you want it free you can go to YOUTUBE and Google tons of photography tutorials in the web.

As you learn more, you will eventually upgrade and discover other photography gears that will enhance your photography
Last advise… It would be a lot of fun having photography friends and joining clubs and organizations after you learn photography. I learned so much in photography through friends and joining clubs.
SUMMARY: Learning photography.. by yourself.
1.) Discover what you like
2.) Invest in a good camera
3.) Read the camera manual
4.) Shoot a lot
5.) Continuous Learning
HAPPY SHOOTING!! 🙂
Please support me by following me in facebook and IG
Facebook: https://www.facebook.com/ArtRivoJrPhotography/
Instagram: @Art.Rivo.Jr
